Category Archives: Uncategorized

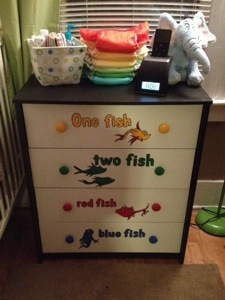
Dr. Seuss Dresser

My boys have been sharing a dresser, and between all the pants, pjs, and diapers we were running out of room and ultimately they were living out of laundry baskets. The favorites were always out and accessible, while everything else was a forgotten, crumpled mess in the dresser.

So I picked up a plain basic dresser off a local B/S/T page and decided to doctor it up. I’ve been meaning to do this with their existing dresser but never got around to it. Funny part of this is, that dresser currently has primer on the drawers and the rest is still green. I’ll get to it once this freak snowstorm is over and we get some nice weather so I can paint outside.

Step one, primer! Because it is just a cheap pressed wood with a laminate finish, sanding isn’t really an option. So I found a special primer that’s meant to stick to glossy surfaces. If this was my ONLY project, it wouldn’t have been worth it, but I’ll use that primer on several other pieces in our house this summer. This process needed at least a day or two to cure, so we had a dresser and four drawers scattered around our house for an entire week.

Next I painted the base a Midnight Black. I used an ultra fine foam roller to give it a nice smooth texture and avoid the brush stroke lines. I used that same roller to paint the drawers white. I removed the knobs for two reasons: 1. I wasn’t sure if I wanted them white, black, or colored. 2. To make painting easier (the other dresser was purchased pre-painted, and those knobs are going NO WHERE!)

Then I typed up the “one fish, two fish” saying with a mock-Dr. Seuss font and resized the fish so they’d fit on the drawers. I then printed them out on card stock and cut them out for stencils.

I stenciled out each drawer and as I got ready to paint, I realized I drew one on upside down! Quickly fixed that and set to painting during nap time.

20140403-233842.jpg

Bug got ahold of some dry brushes, and I let him pretend on one of the dry drawers. I love my little sponge and it’s so fascinating watching him instantly pick up on what I’m doing. I think he has seen me paint my toenails once in his entire life, but he has a fake tea light candle and a lipgloss that he pretends is nail polish to paint his toes with.

Once I got the colors painted on and they were dry, I use a sharpie to add the outlines and details. (Cheating, I know. But it was easier than a paintbrush, and I didn’t think to buy a paint pen when I picked up supplies.)

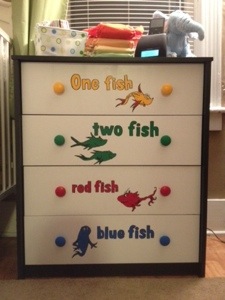
20140403-234303.jpg

20140403-234316.jpg

20140403-234328.jpg

One year!

20140315-233249.jpg

On March 15, 2013 I made one of the biggest decisions of my life. Today my husband and I celebrated our first year of marriage. They say the first year is the hardest. I think we’ll be okay if that’s true. 😉

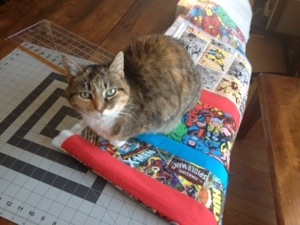
My gift to him this year is his very own Avengers/Marvel quilt! I bought this fabric with the intentions of making him a quilt for his homecoming last year. I never got to it because shortly after they arrived in the mail I moved, and they got lost in the shuffle.

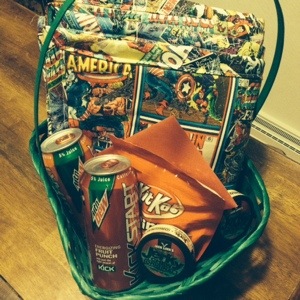
If only I had gotten the chocolate covered bacon for his goodie basket!

20140315-233313.jpg

20140315-233327.jpg

20140315-233337.jpg

20140315-233344.jpg

Arrow Quilt

20140308-012313.jpg


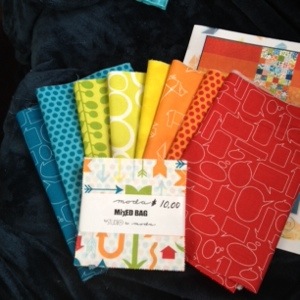
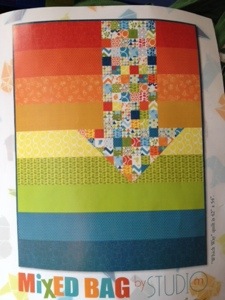
The local quilt store posted a picture of these fabrics on Facebook, and it was love at first sight.

20140308-012731.jpg


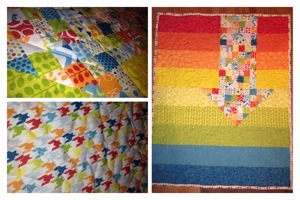
Buyer beware, the pattern DOES NOT match the picture. The pattern has the arrow slightly wider, and the point is in the middle of one of the greens. I chose to follow the look of the picture.

20140308-013207.jpg


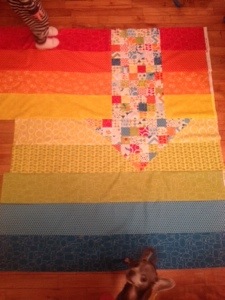
It took me about a week to piece the front together. And then another few days debating if I should go back for two more colors to make it a little longer (I left it.)

20140308-012706.jpg Bug had fun shuffling his feet across this and making it all bunched up. (And D Dog had to go for a photobomb.)

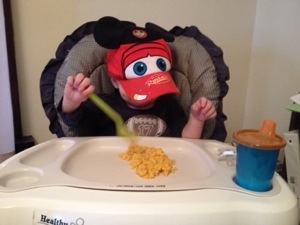
20140308-012639.jpg (One of the many lunch breaks. I just love his hat.)

Front
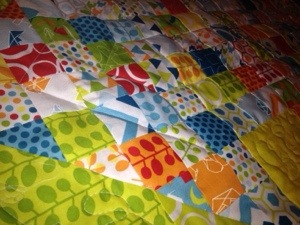
20140308-014258.jpg20140308-012425.jpg

Back
20140308-012631.jpg
20140308-012442.jpg

DIY Nursing Top

IMG_1894

You Need:
1. Two shirts (or three if you want to end up with 2 finished tops). It helps if they are close to the same length.
2. Sewing machine, thread, pins

Step One:

1 supplies


Choose your shirts. I dug out some old ones from my dresser to use as a test-run (and I wanted to go with the “use what you’ve got” mentality with this.) They can be the same color, or you can use different colors for a two-tone effect.

Step Two:

Put your main shirt (shirt 1) on and use either a marker or safety pins to mark below your bust line. It’s important to mark far enough below so that the shirt reaches below your boobs, but not so low that it’s difficult to pull this layer up on the finished product.

Step Three: 2 Cut 1 sides

Cut along the sides or use a seam ripper from the bottom of the shirt up to where you marked in step two.

Step Four:

3 Cut across 1

Cut across the front of the shirt along the marks you made in step two. I used a straight edge and rotary scissors to ensure a straight line, but you can use scissors.

4 After Cut

Your shirt should now look like this.

Step Five:

5 Cut 2

Take your second shirt and cut the sides or use a seam ripper to make two halves. Then use scissors or a straight edge and rotary scissors to cut across the top just below the armpit. I used the front side for my first shirt, and the back side for my second.

6 both cut shirts

This is what you should now have. The piece on the left is from the second shirt, and the shirt on the right is the first shirt.

Step Six (Optional):

Hem the raw edge from each shirt. I found that hemming the top layer helped it lay flatter when I tried it on in the end.

IMG_1900

Step Seven:

9 piece together

Turn the first shirt inside out and lay it flat so the front side is on top. Lay the second shirt on top of the first, with the inside facing up. Line up the bottoms of each shirt.

Step Eight:

IMG_1905

Pin each side together, lining up both shirts the best you can. Next stitch along each side.
(Note: I had to do some trial-and-error with the layers on the front of the shirt  to get the top portion to lay correctly. I suggest using a loose stitch at first until you get it to lay flat, and then reinforce or surge once you’re happy with it.)

IMG_1906 10

This is what your finished product should look like.

IMG_1894